How to Manage Addresses, Address Groups, Services w/ Library
The Library policy module is an advanced module built for customers who have experience with traditional firewall interfaces. Everything under Library can also be managed under the IP Control or Services tab if you would like an easier, straightforward experience.
Addresses and address groups are essential components in firewall management, used to define sources and destinations of network traffic. An address typically refers to a specific network device, such as a computer or server, identified by its IP address. Address groups allow administrators to group multiple addresses together for easier management and policy creation. By assigning addresses or address groups to firewall rules, administrators can control which traffic is allowed or denied based on its source or destination, helping secure the network from unauthorized access or malicious activity.
Services are predefined sets of rules that define how network traffic is handled based on specific protocols and port numbers. There rules determine which types of traffic are allowed to pass through the firewall and which are blocked. Services can include protocols like TCP and UDP as well as specific services such as HTTP, FTP, SSH, and more.
To manage your Library, see the following steps:
Navigate to Library
Navigation: Policy > Library

Configure Your Library
To begin populating your Library with addresses, address groups, and services, navigate to the left-hand side of the interface shown below and select either addresses, address groups, or services.
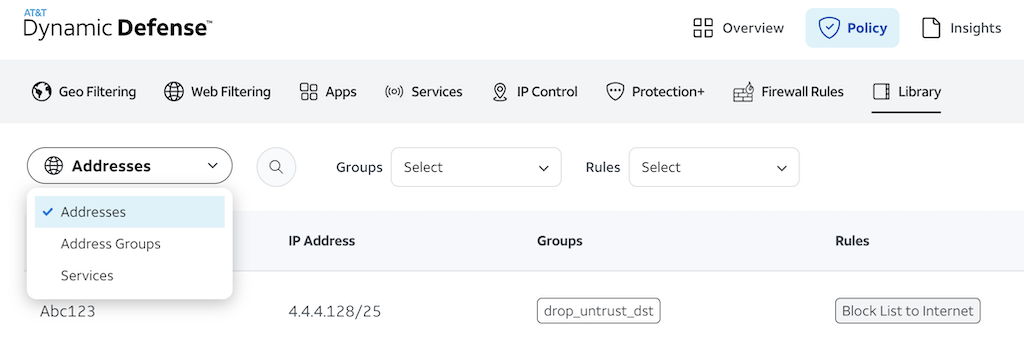
Once addresses, address groups, or services is selected, you will be able to add respective inventory objects by pressing the "Add" button on the right-hand side of the interface.
Address Add:
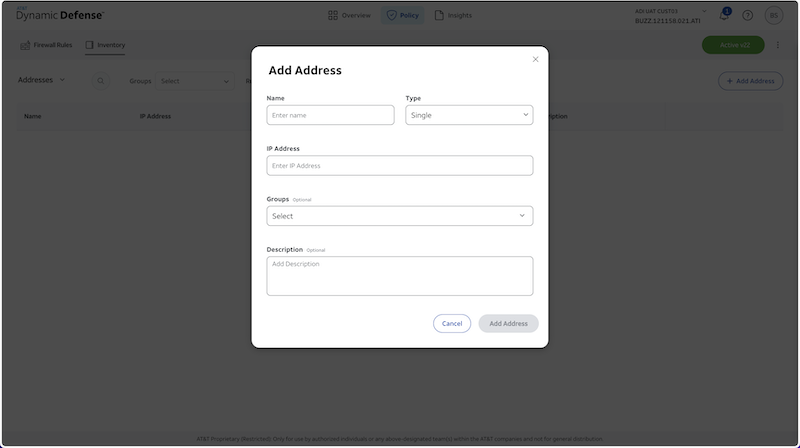
For each Address added, you will need to populate the following items within the UI
- Name
- Type - Single, Range, or Subnet
- IP Address
- Groups as needed
- Description
Address Group Add:
Keep in mind you will need to create addresses prior to creating an address group.
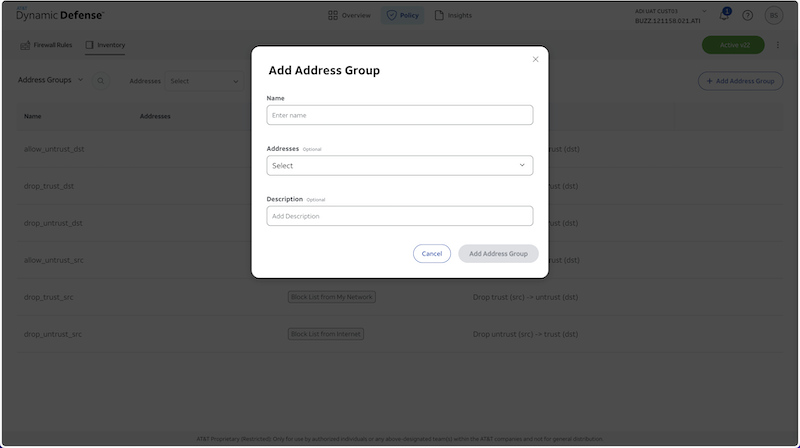
For each Address Group added, you will need to populate the following items within the UI
- Name
- Addresses
- Description as needed
Service Add:
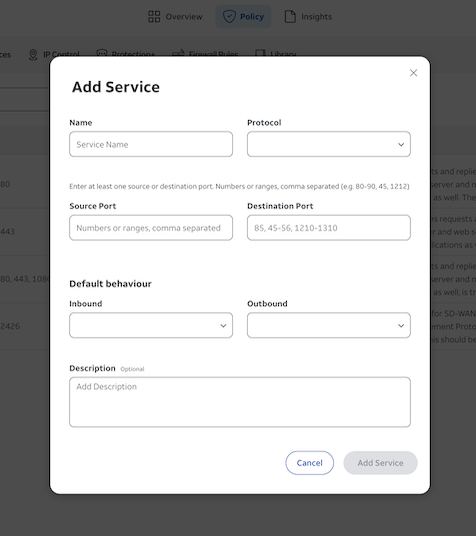
For each Service added, you will need to populate the following items within the UI
- Name
- Protocol
- Source Port
- Destination Port
- Default Behavior
- Description as needed
Please see the linked article for additional information on Services
Once the above information is specified for each inventory change respectively, press "Add" and your inventory changes will populate in the inventory module. From here you can now proceed to Step 3 to apply your new inventory changes.