How to Block and Allow Specific Domains with Web Filtering
Web Filtering plays a crucial role in both security and productivity by allowing users to control access to certain root domains. Blocking specific root domains helps prevent access to malicious or inappropriate content, safeguarding against malware, phishing, and other cyber threats. Meanwhile, allowing specific root domains ensures access to necessary resources, fostering a productive and secure online environment tailored to an organization's needs. This balance between blocking and allowing root domains helps maintain a safe and efficient browsing experience.
Navigate to Web Filtering
Navigation: Policy > Web-Filtering > Domains
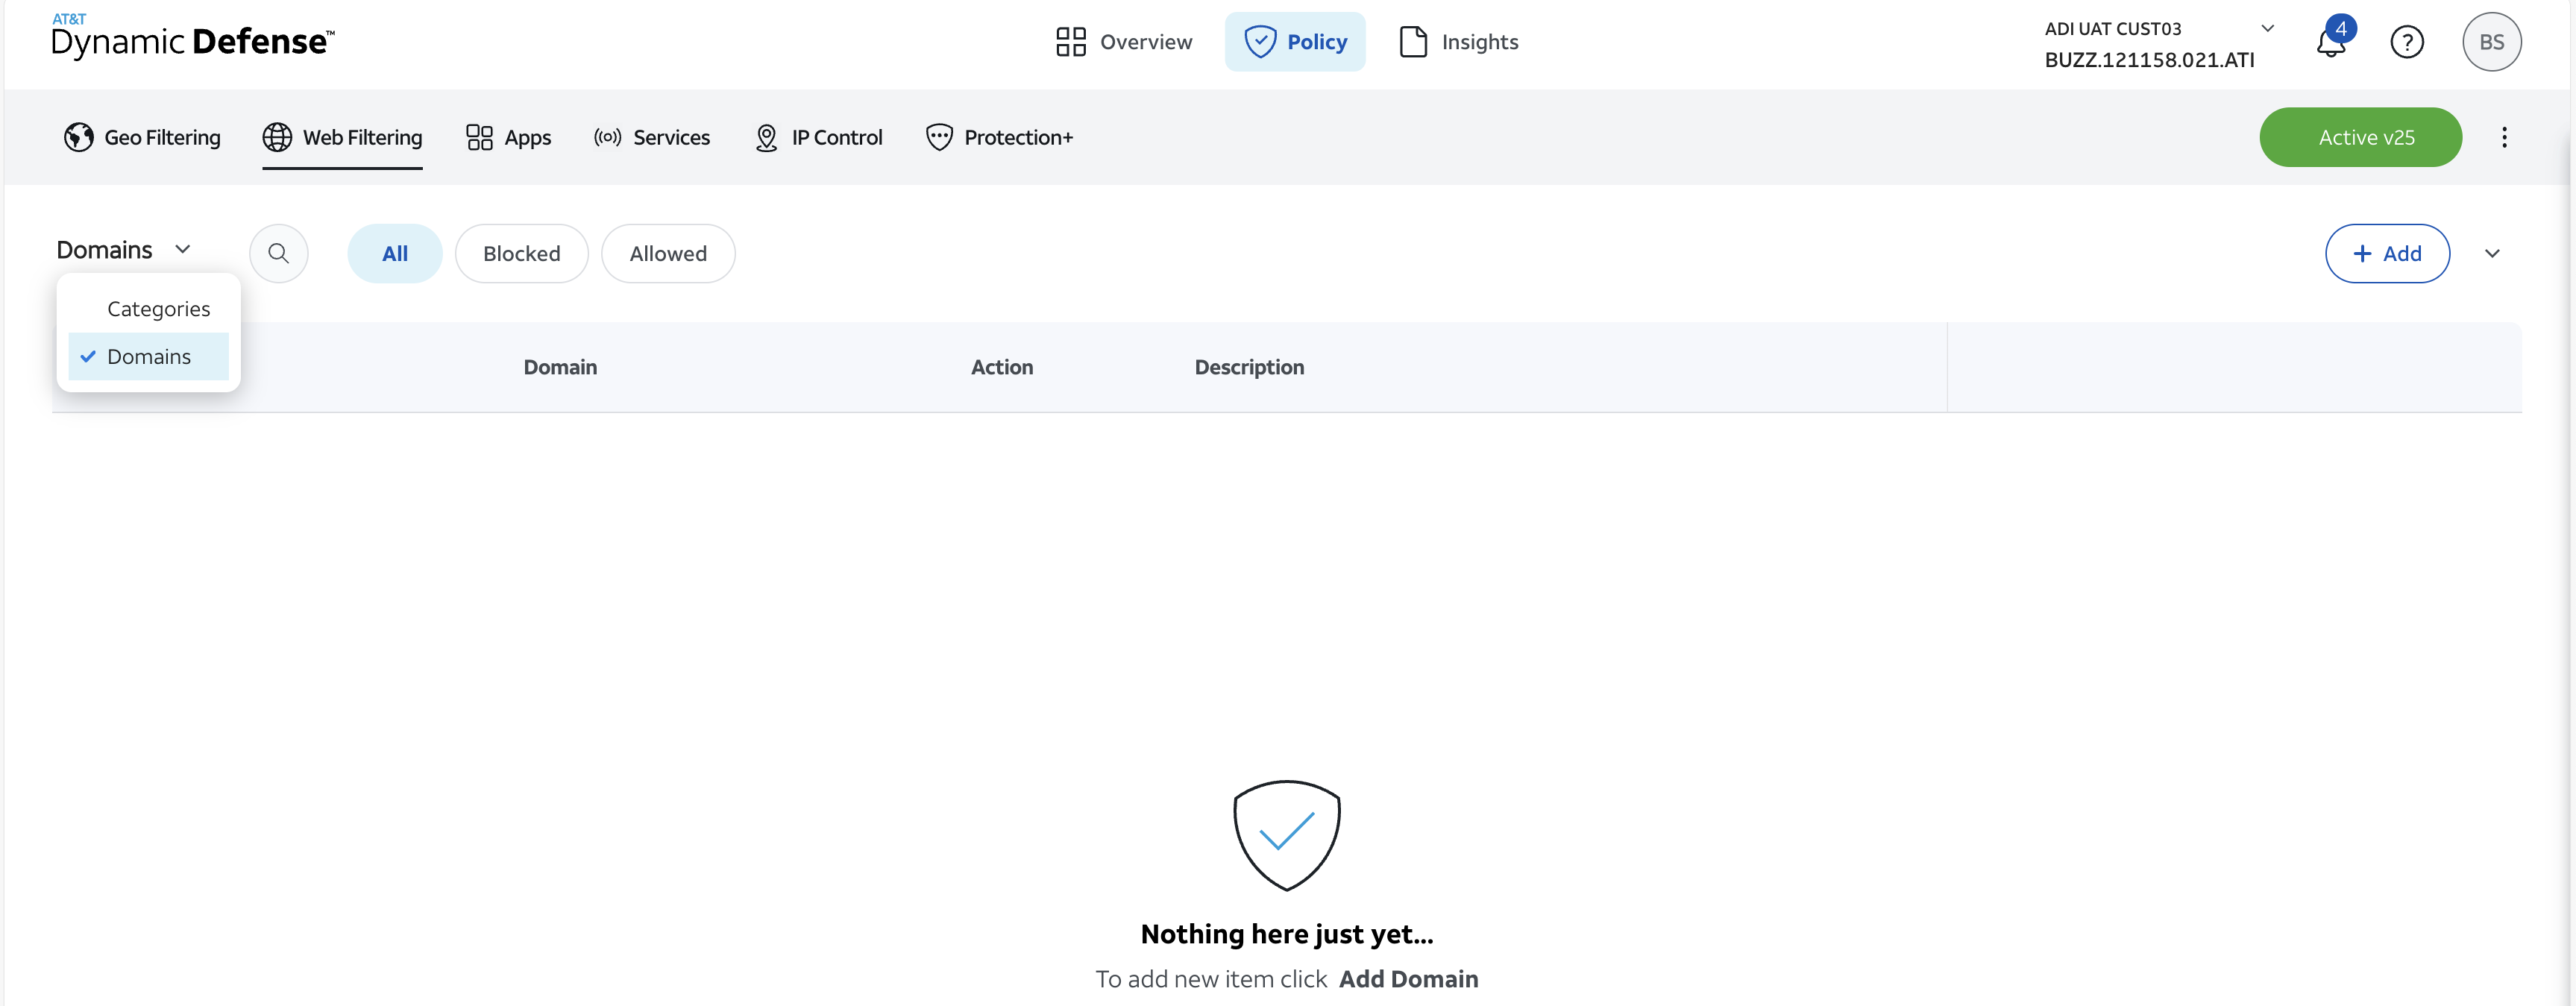
Navigate to Domains Inventory
To begin blocking or allowing access to content based on root domain, navigate to the Domain section of the Web Filtering Security Module shown above.
Once here, click on "Add" located on the right side of the page.
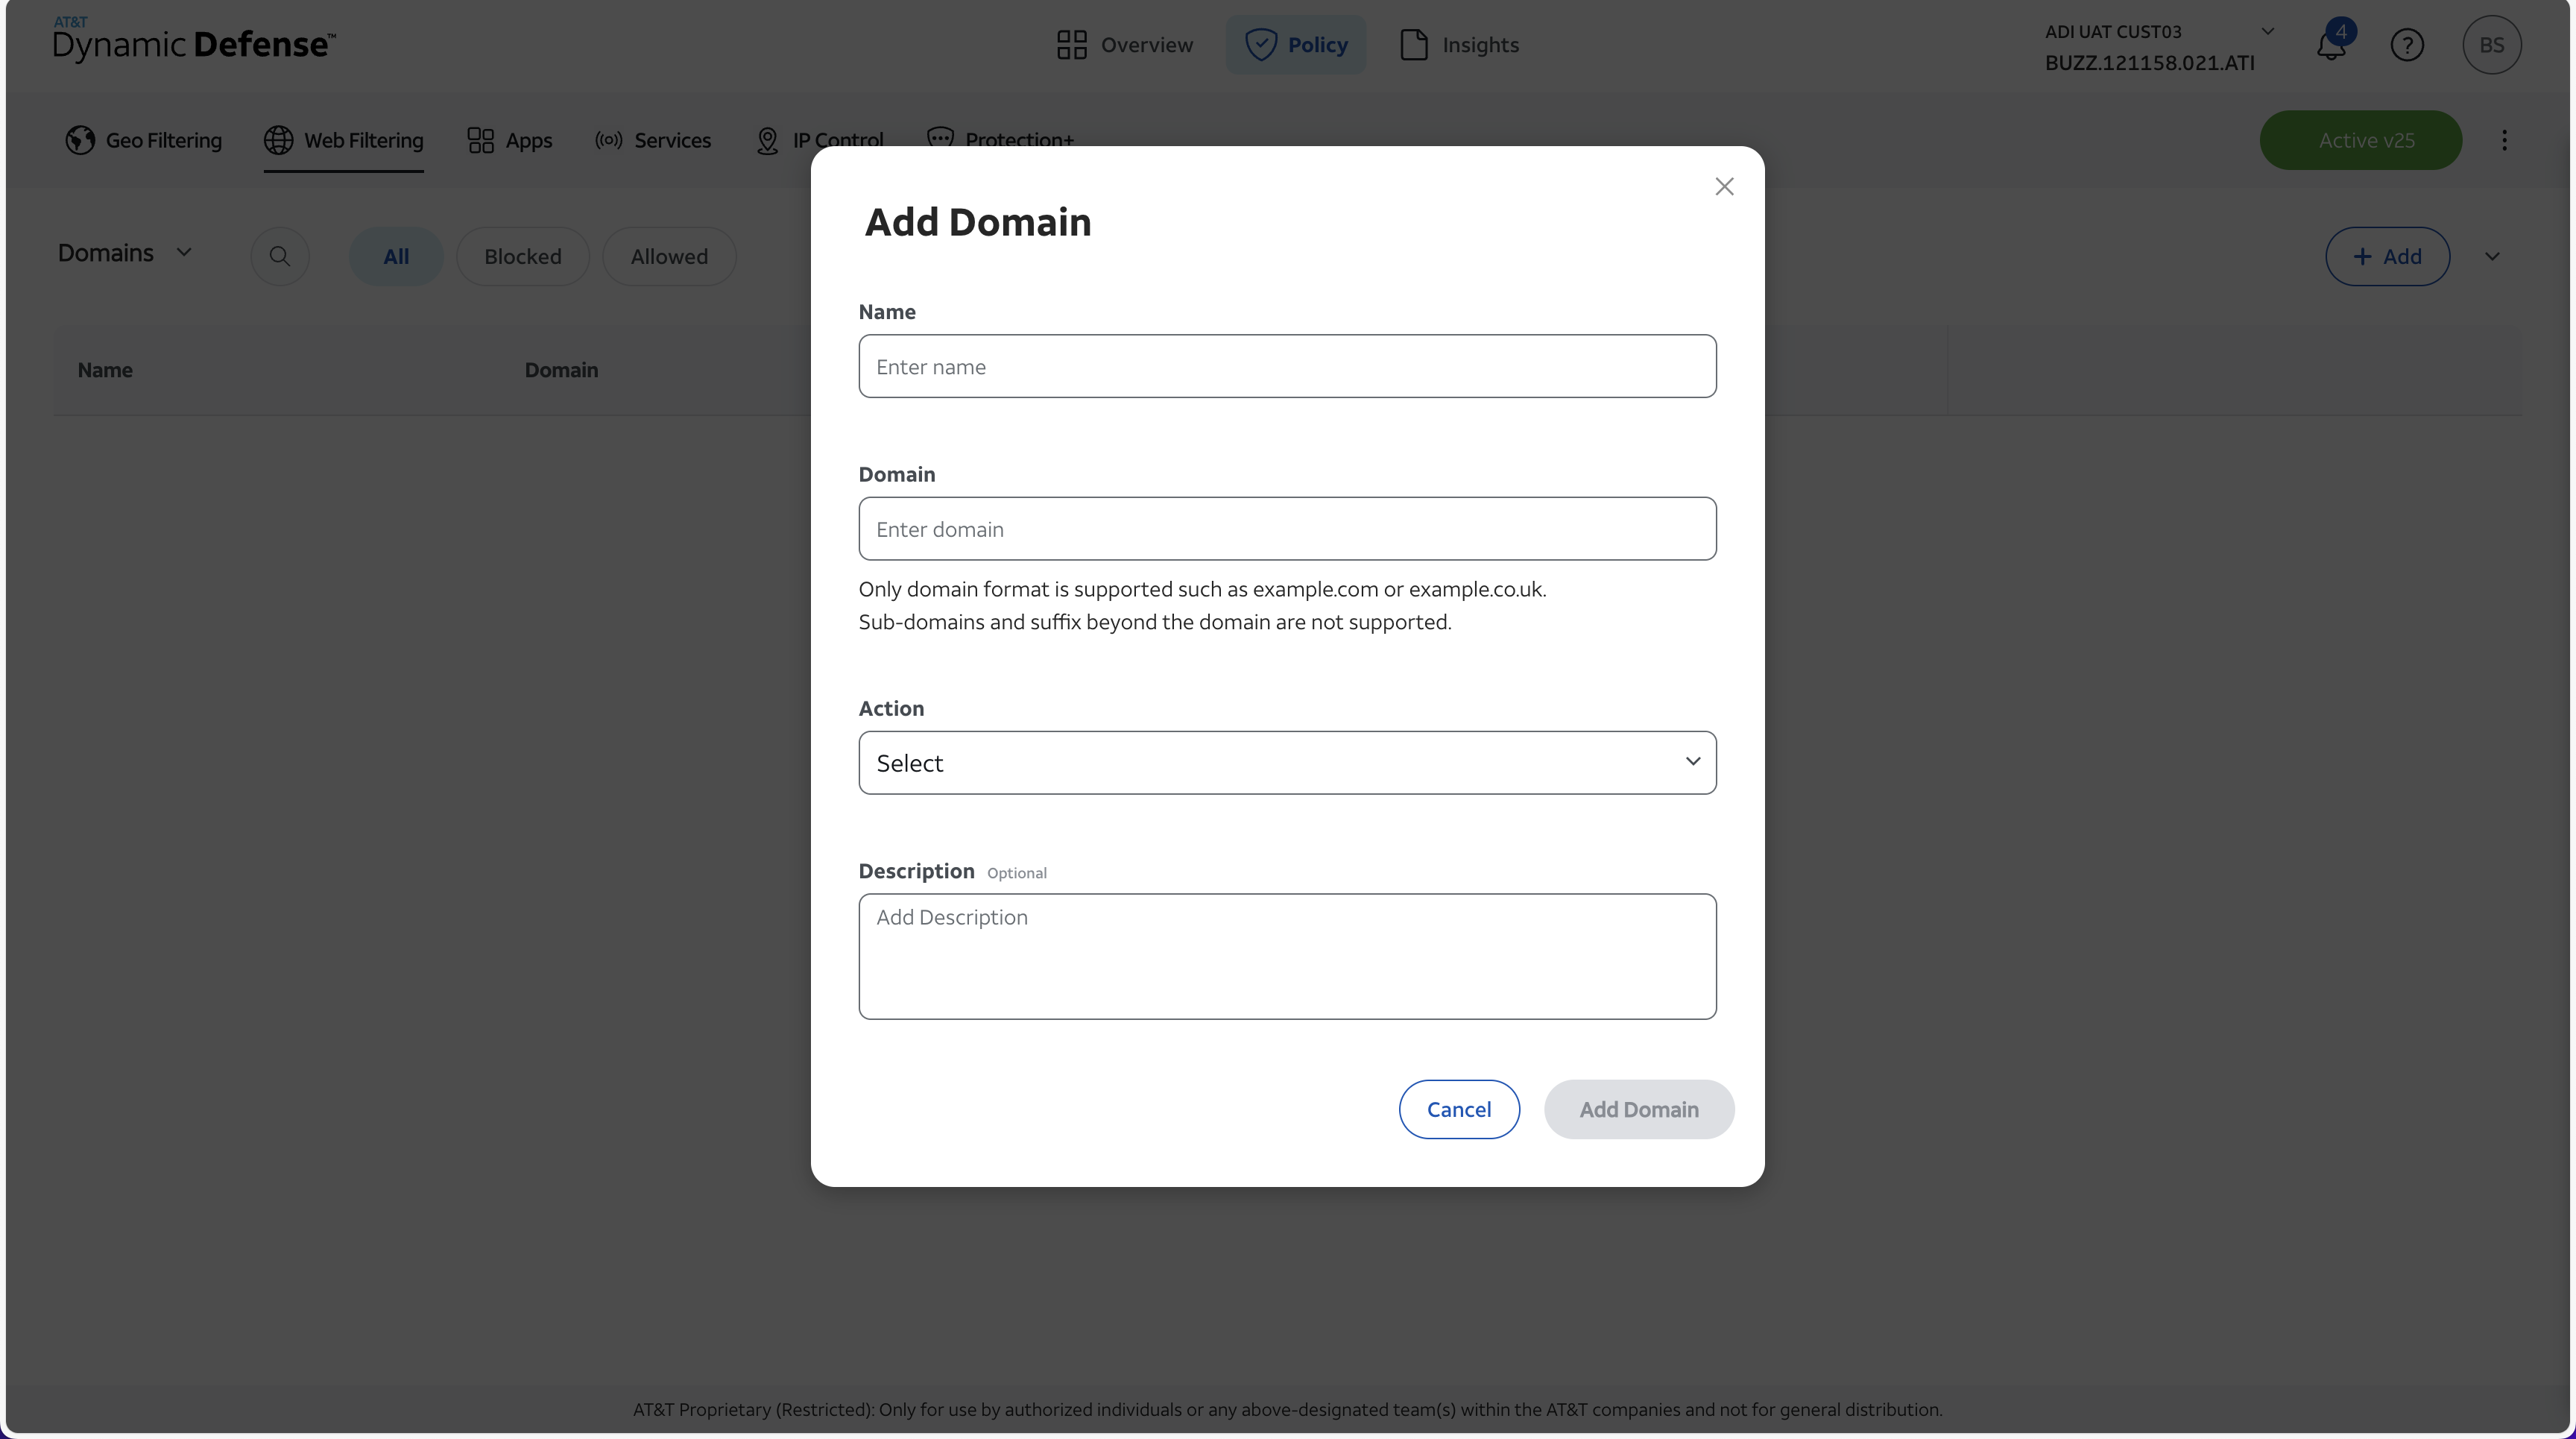
For each root domain added, you will need to populate the following items within the UI:
- Name
- Domain
- Action - Block or Allow
- Description
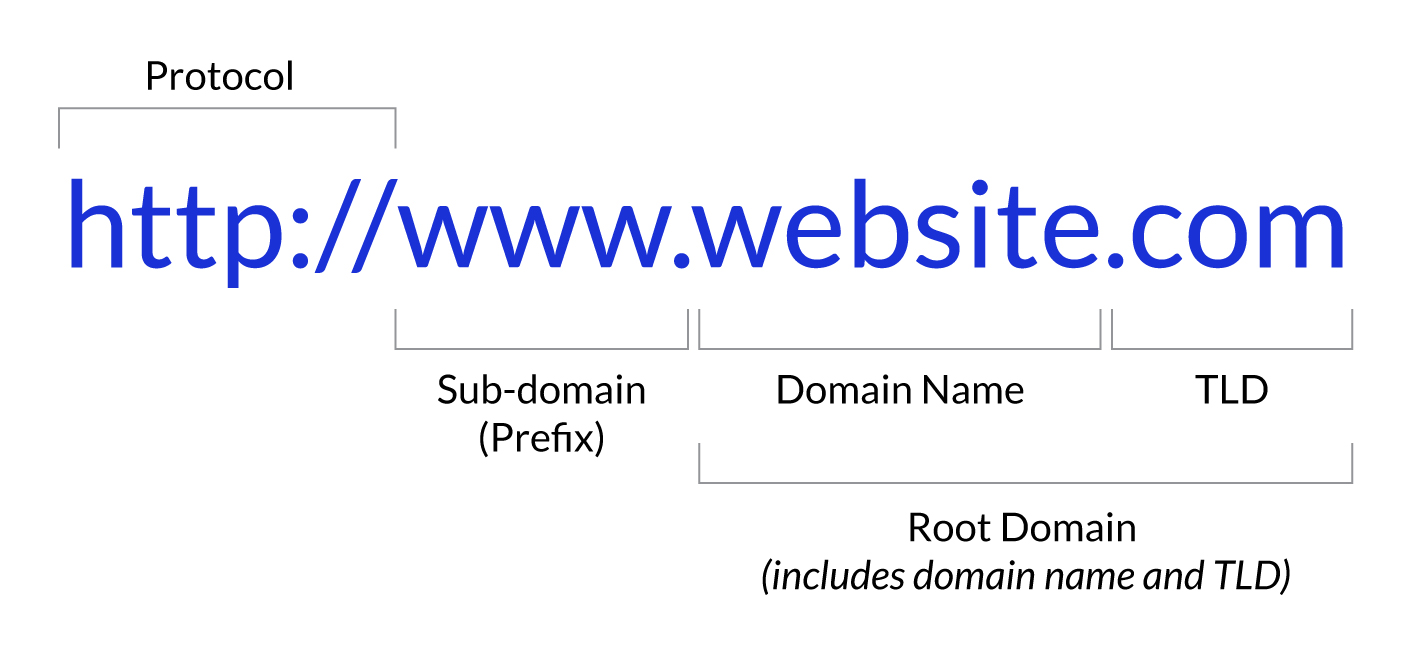
Root Domain is only supported on this iteration of the Dynamic Defense Service. Please see the following image for reference of Root Domain:
Example 1:
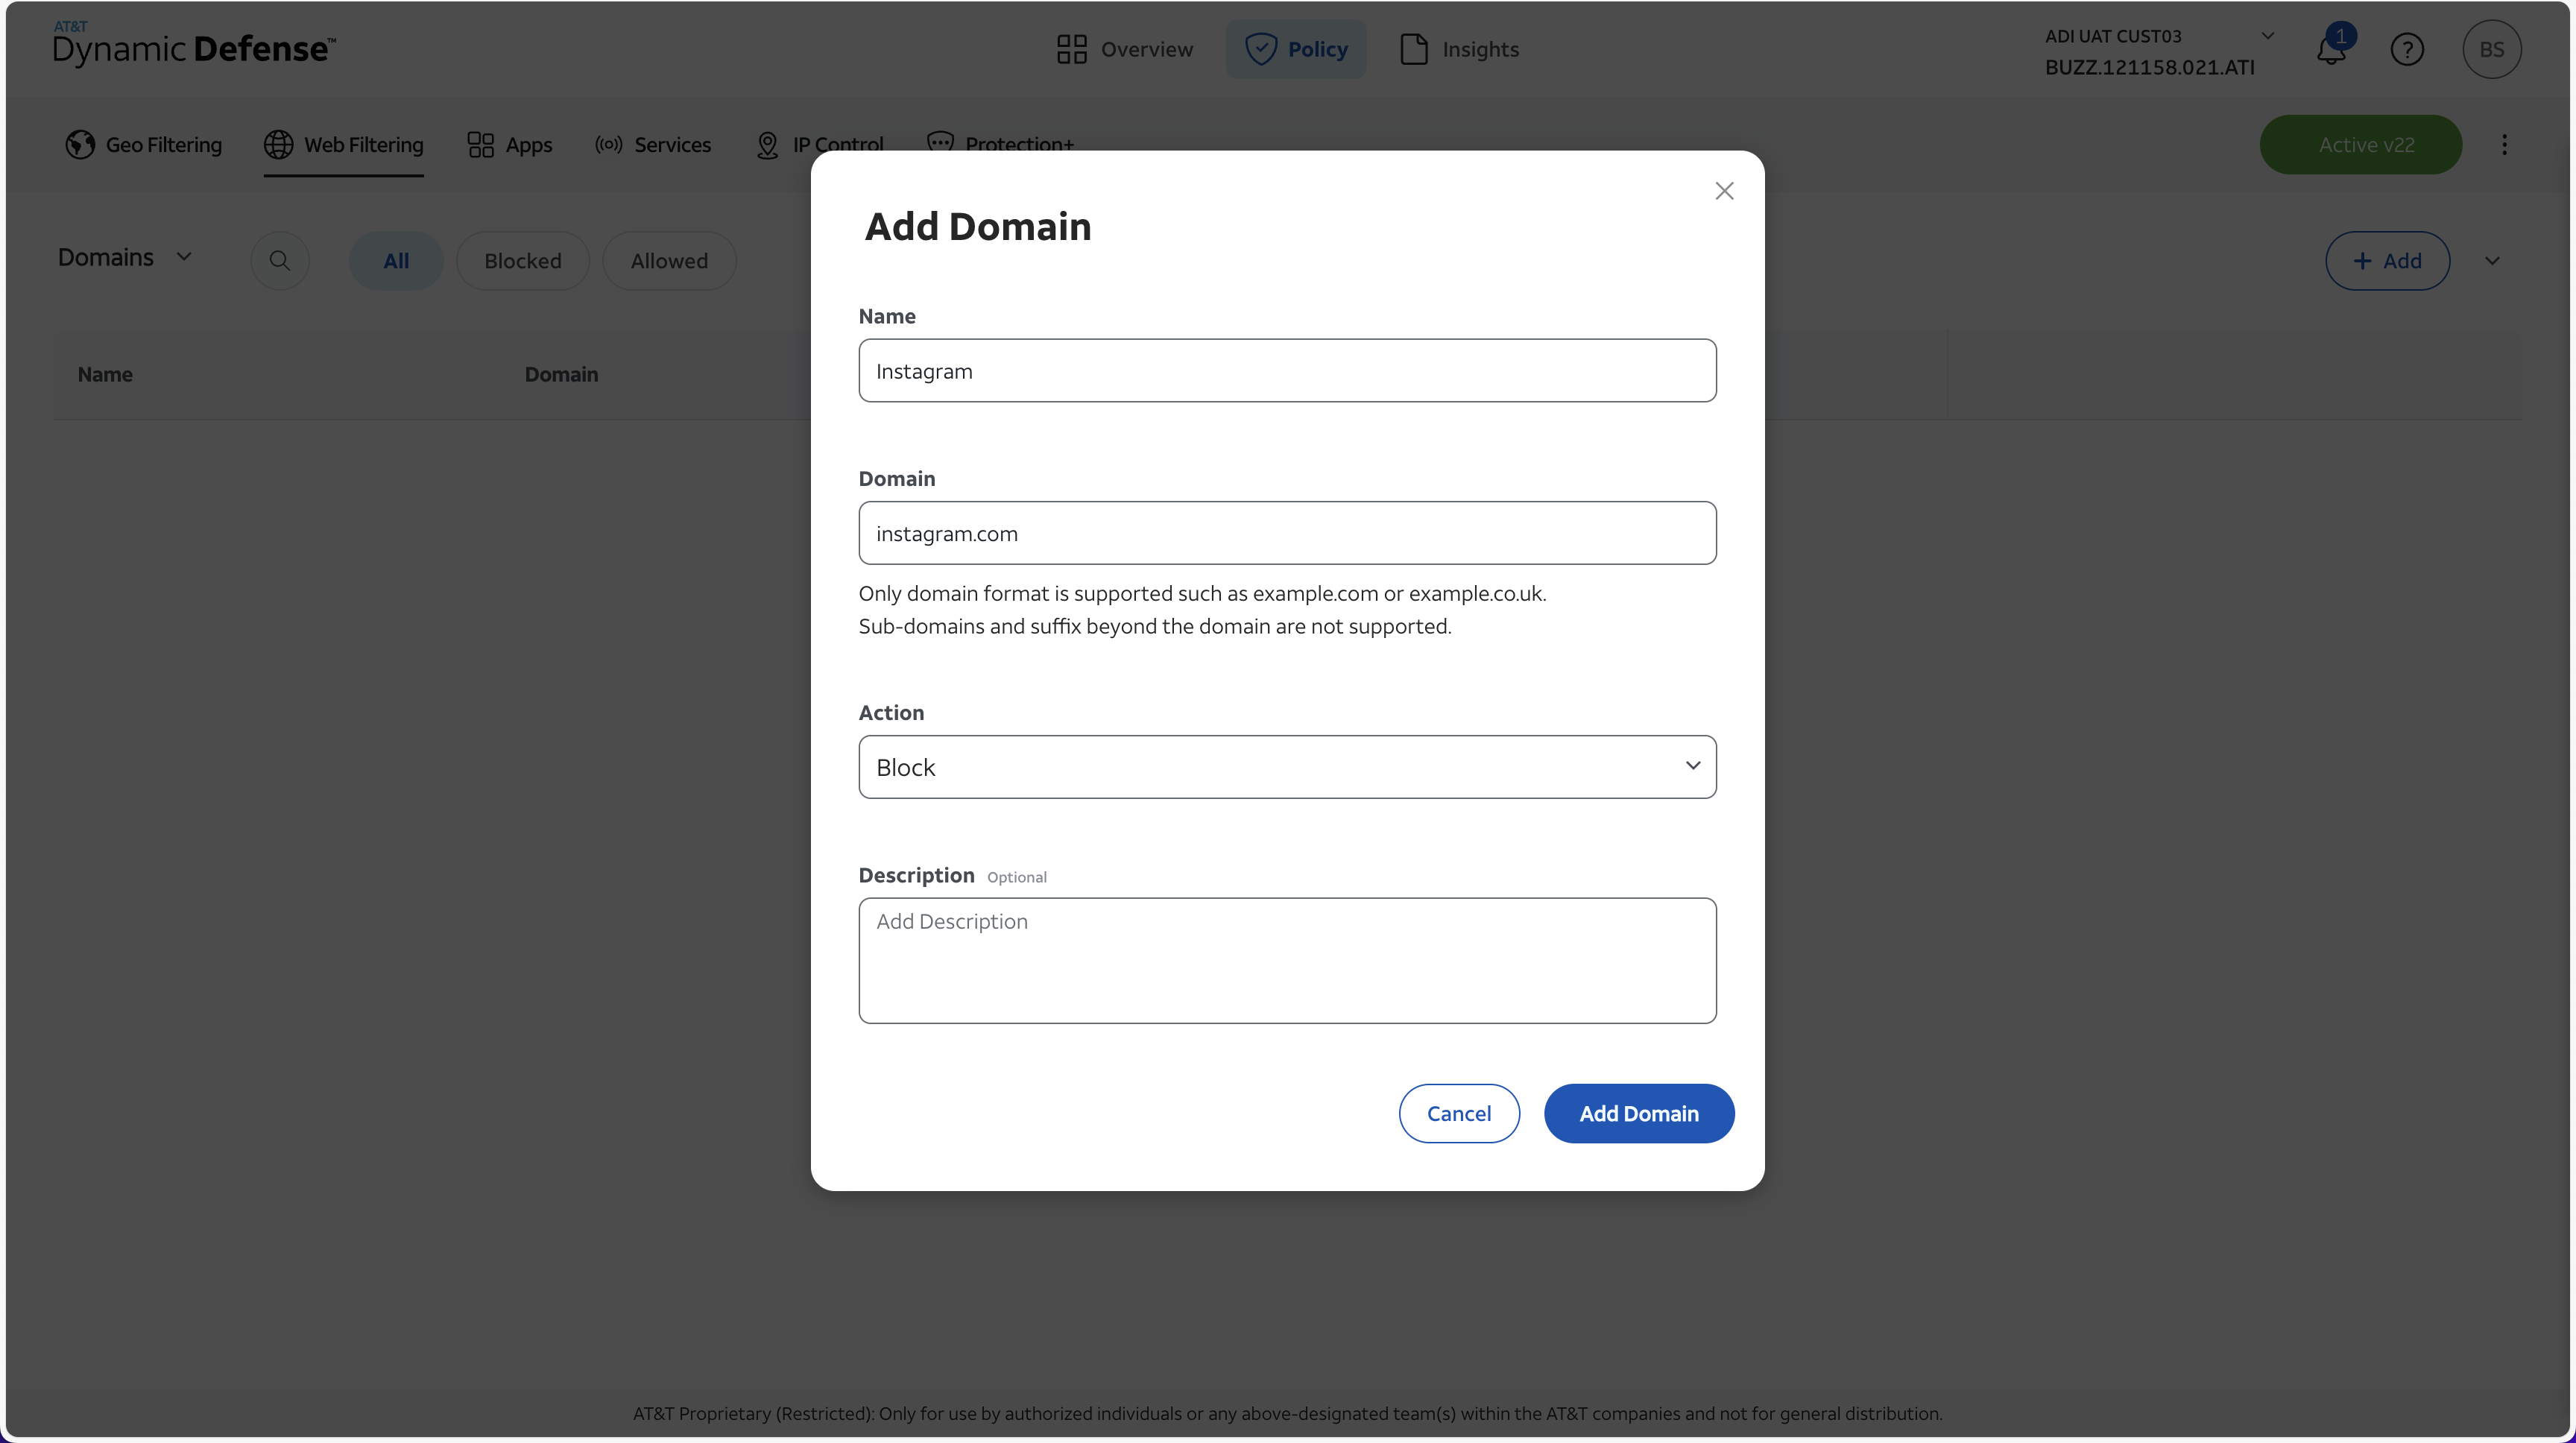
Let's assume you would like to Block your users from accessing Instagram.com.
You would do this simply by clicking "Add"
Provide a Domain Name
Input "instagram.com" in the Domain field
Select the "Block" Action
Provide a short description of the Domain as needed
Click "Add Domain"
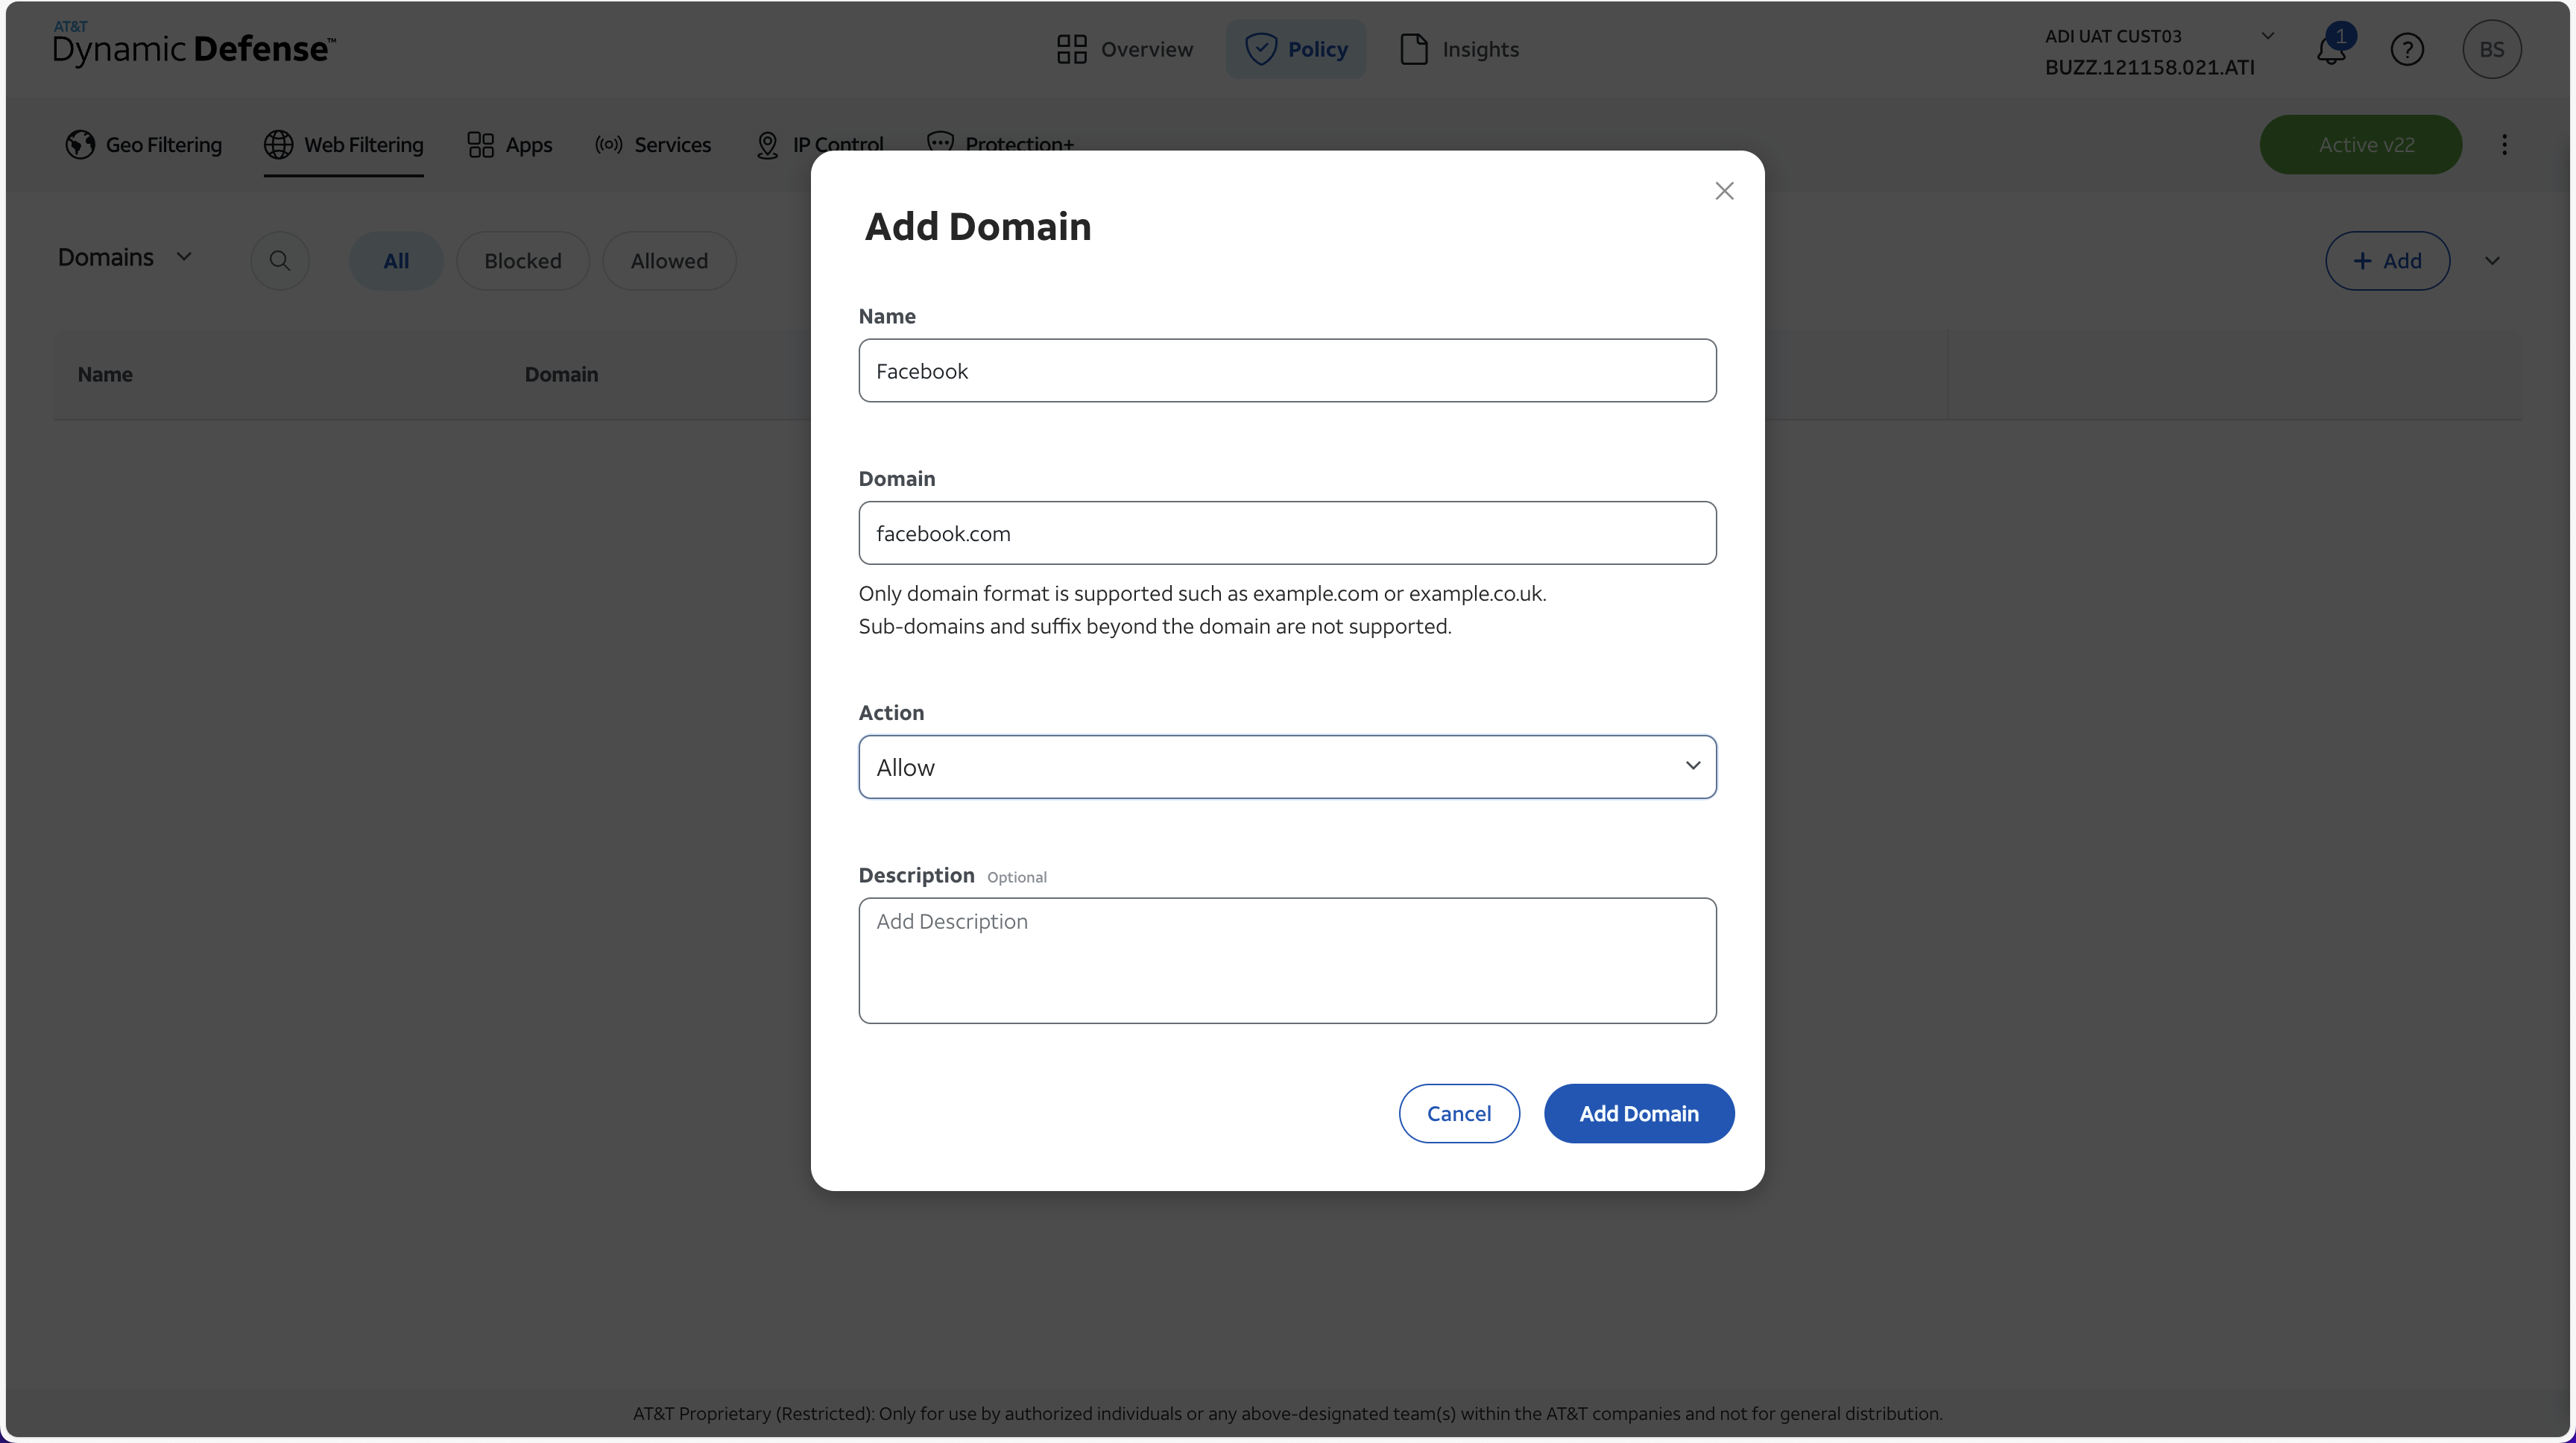
Example 2:
Let's assume you are blocking the "Social Media" Web Category via the Web Filtering security module but would like to create an exception to his block and allow your users to access facebook.com.
You would do this simply by clicking "Add"
Provide a Domain Name
Input "facebook.com" in the Domain field
Select the "Allow" Action
Provide a short description of the Domain as needed
Click "Add Domain"
After each root domain needed is added with its subsequent actions, you can now proceed to Step 3.