How to Create an App Control Policy
Navigate to the Apps Security Module
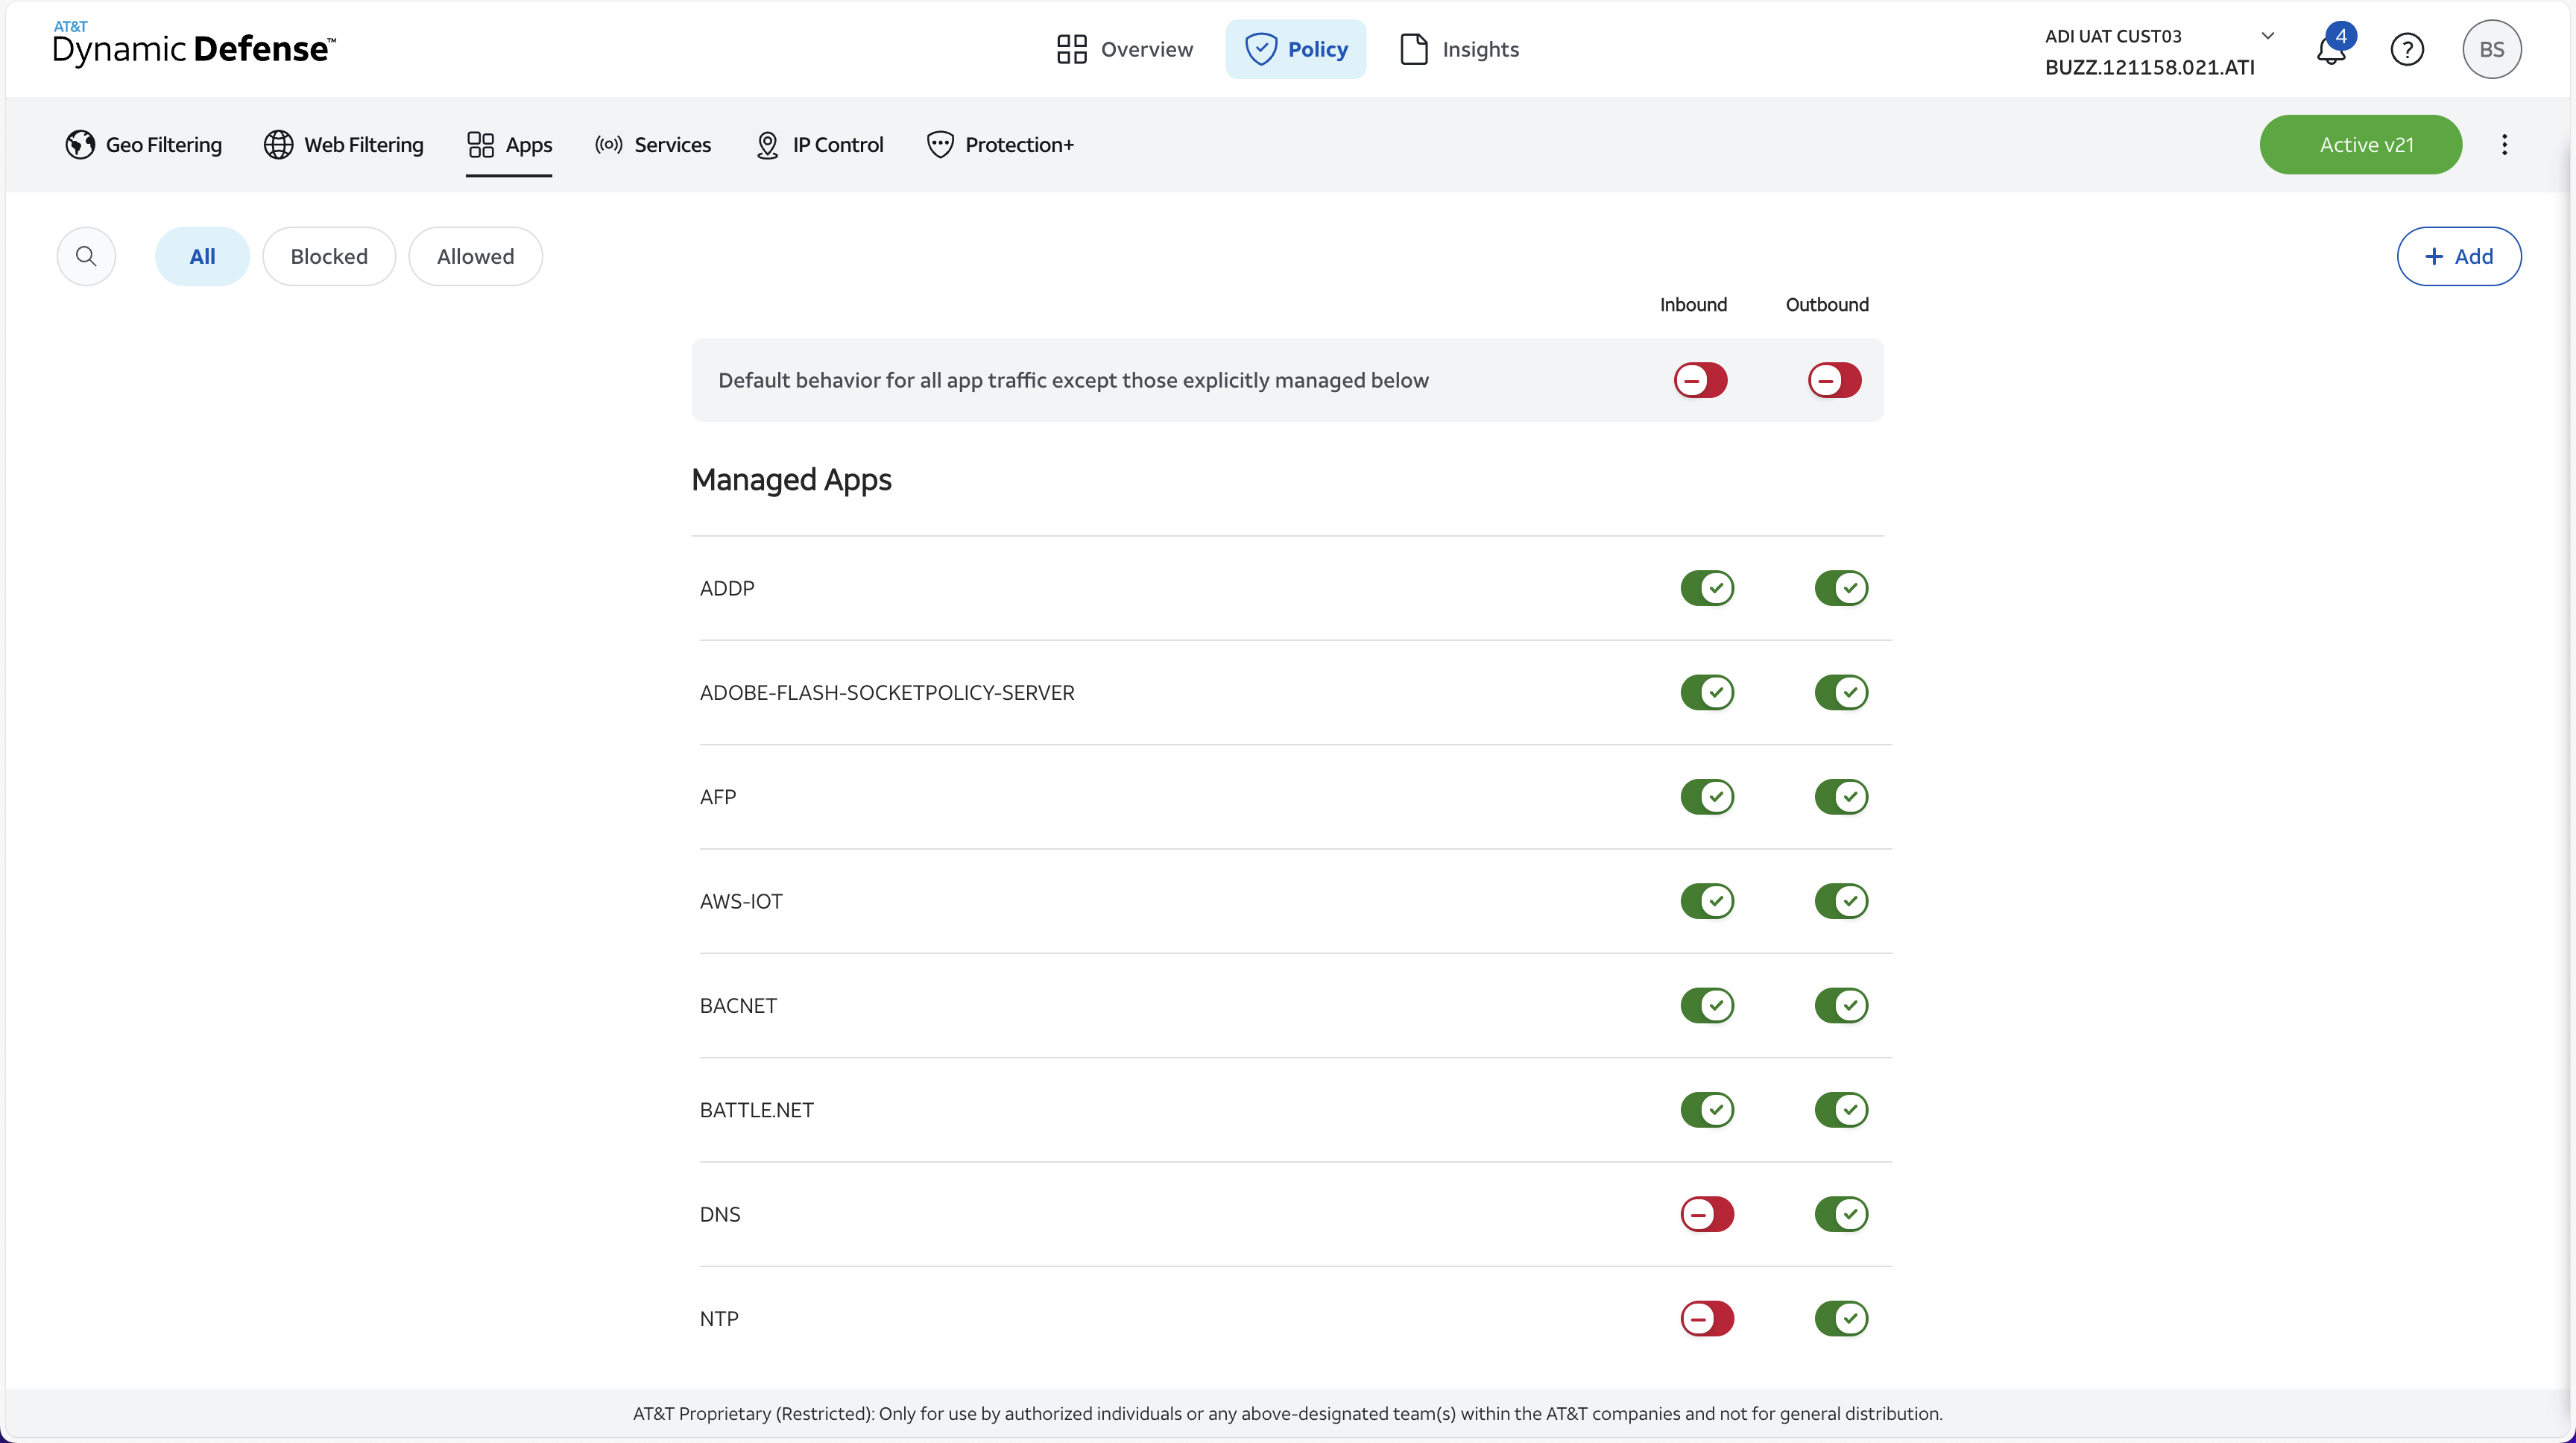
Navigation: Policy > Apps
Select Block or Allow
To begin blocking or allowing access to content based on Apps, navigate to the body of the Apps Security Module shown above.
Once here, search for the specific App which you would like to block or allow access.
For each App you will be making two block or allow decisions, one "Outbound" (Traffic coming from your network to the Internet) and the second "Inbound" (Traffic Coming from the Internet to your Network). The Green Check = Allow and the Red Minus = Block.
Please be aware, the Dynamic Defense Service has a default rule that is applied to any application not specifically managed in the App home page. Your default rule is displayed at the top of the App home page.

If the app you are looking for does not appear in your inventory, select "Add" on the right side of the page and search for the app you need to add.
Example:
Let's assume you would like to allow Gmail app traffic both outbound from your network and inbound from the internet, but it is not located in your inventory.
You would:
- Click "Add" on the right side of the page
- Search for "Gmail"
- Check the box next to "Gmail"
- Click "Add"
Below is what you would see after adding Gmail.
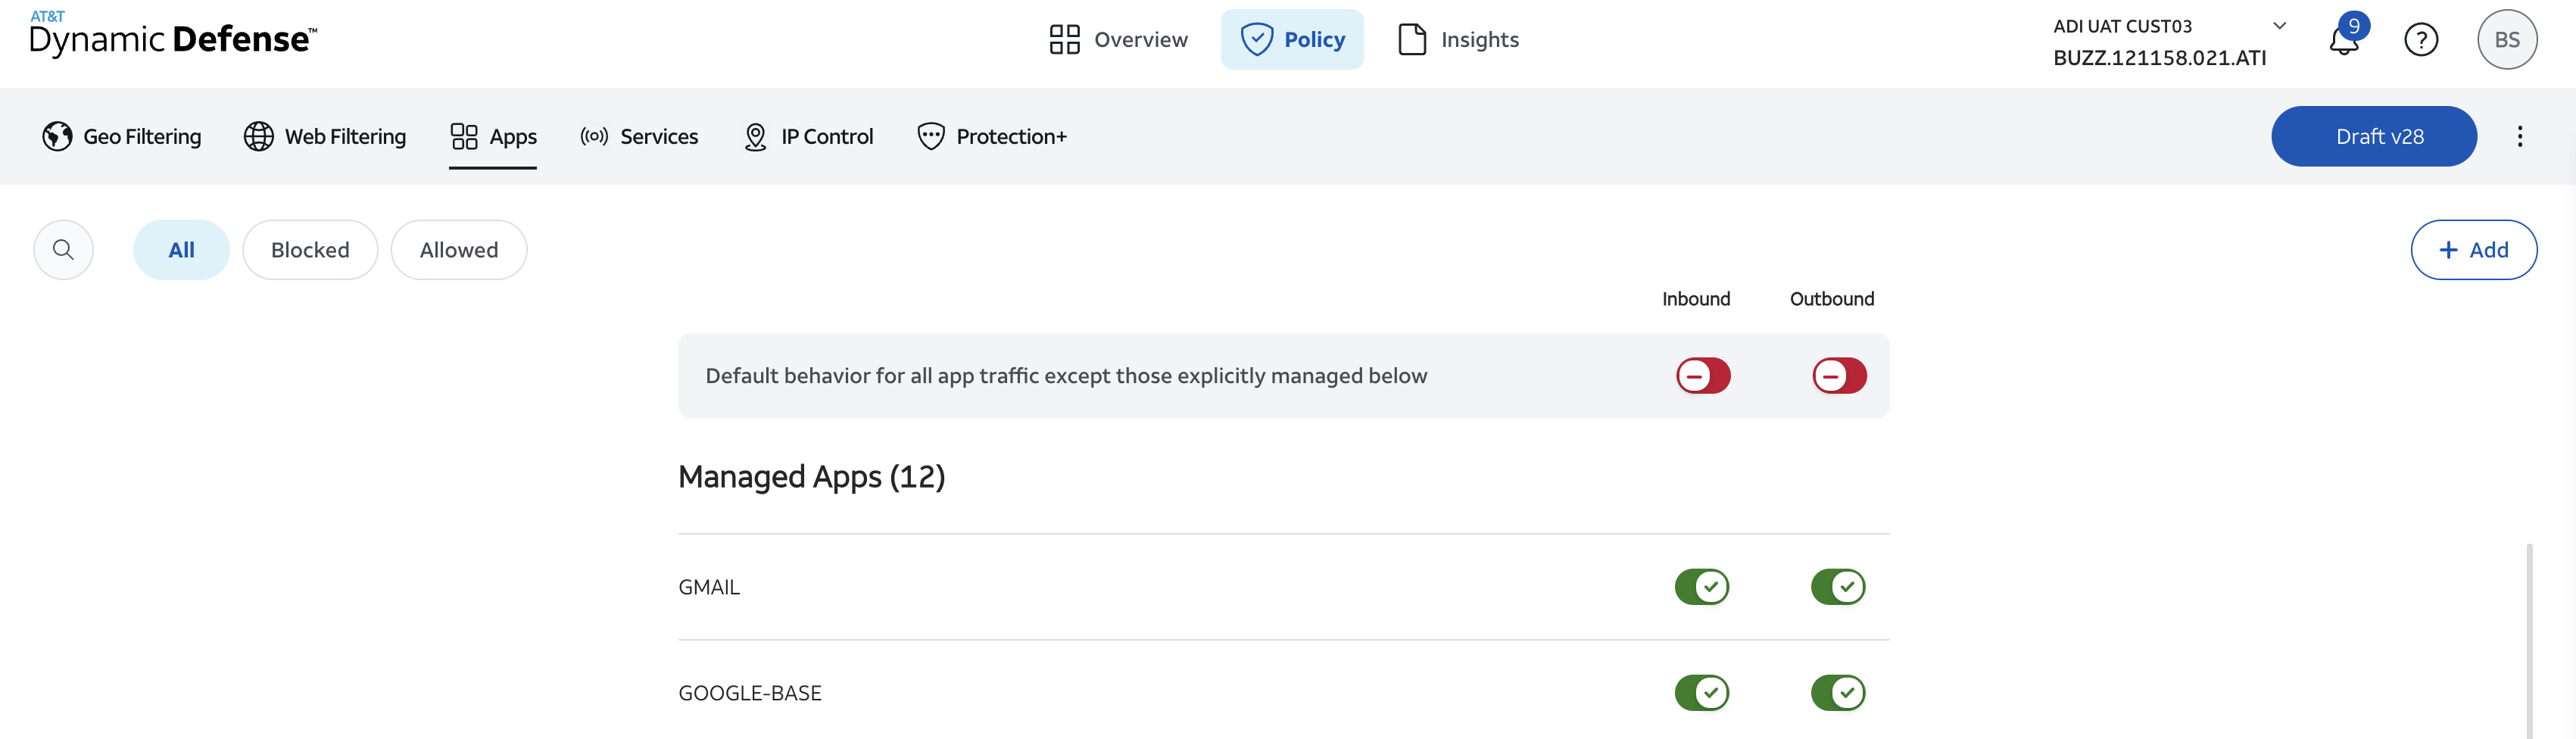
If any dependent apps are needed when adding your selected app, the dependent app will also be added to your Apps page inventory. In this example, "Google-Base" was added when selecting "Gmail" along with a few other necessary apps.
In the above example, the default app policy is set to Block inbound and outbound, so the recently added app is automatically added with toggles set to Allow for both inbound and outbound traffic.
After the block and allow decisions have been decided for each App in your policy change, you can now proceed to Step 3.