How to Allow or Block an IP w/ IP Control
An IP allow list is a set of approved IP addresses that are granted access to a system or network, enhancing security by only permitting specified connections. An IP block list comprises restricted IP addresses, preventing them from accessing the system to mitigate potential threats or unauthorized access.
To add an IP address, follow the below steps:
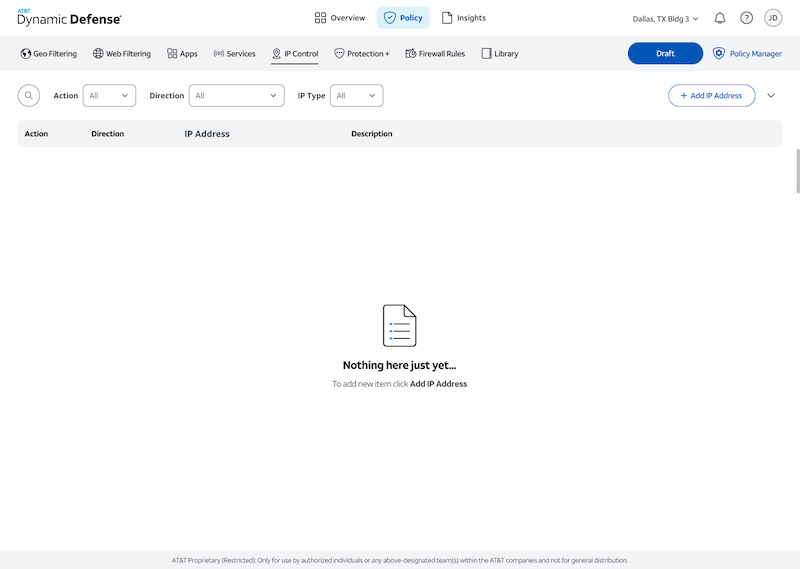
Navigate to IP Control
Navigate to the IP Control security module: Policy > IP Control
Select "Add IP Address"
To begin allowing or blocking access to content based on specific IP Address, select the "Add IP Address" button on the right hand side.
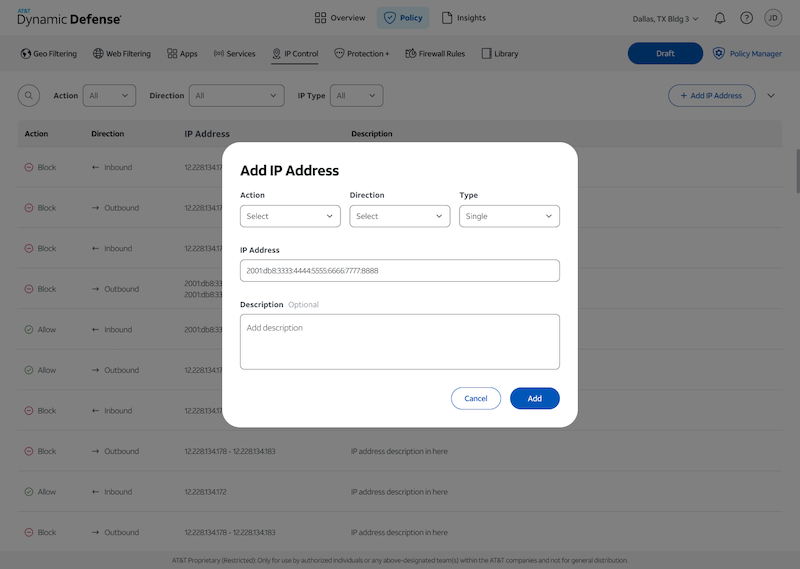
For each IP address added, you will need to populate the following items within the pop up:
- Action - Allow or Block
- Direction - Outbound (From My Network) or Inbound (From Internet)
- Type - Single, Range, or Subnet
- IP Address
- Description (optional)
Once the above information is specified, click "Add." You should now see your allowed or blocked IP in your list of IP addresses. From here you can now proceed to Step 3 to apply your new policy.