How to Enable Premium Threat Protection
Premium threat protection stands as a critical defense mechanism against a multitude of risks.
- Virus Protection is crucial to detect and eliminate malicious software that can harm systems or steal data.
- Spyware Protection guards against covertly installed programs that gather sensitive information without consent.
- DNS Protection protects from harmful and suspicious domains while ensuring safe browsing.
- Vulnerability Protection helps identify weaknesses in software systems, reducing the risk of exploitation by cyber attackers.
These components collectively fortify defenses, mitigating the risk of cyber threats and ensuring a safe digital environment for your organization.
Navigate to the Protection + Module
Navigation: Policy > Protection+
Configure Your Policies
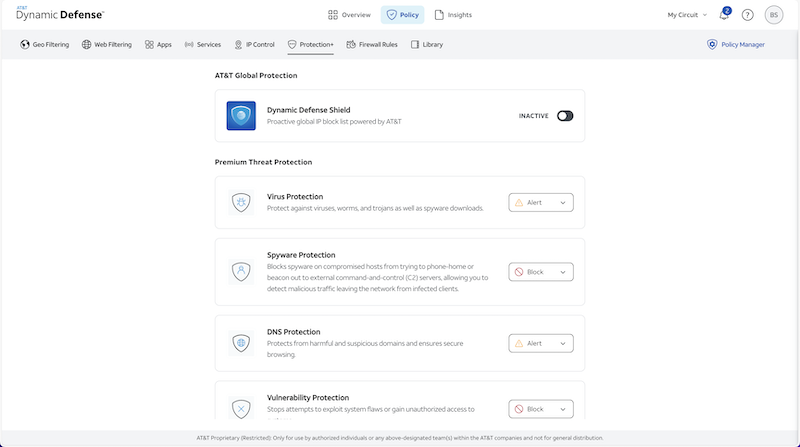
To begin enabling Advanced Threat Protection, navigate to the body of the Protection+ security module under Policy.
Once here, you will find the threat profiles that can be set to the following options:
- Alert = Yellow Exclamation
- Block = Red Deny
By default, the Advanced Threat Protection policy will be set to "Alert" enabling Advanced Threat Protection to be viewable within the Dynamic Defense Service's Traffic Logs (Insights > Logs > Threat) regardless of the policy action.
Be aware, if you do not have the "Premium" version of the Dynamic Defense Service, Advanced Threat Protection will not be available for you to utilize.
This can be determined by the following upgrade icon next to Advanced Threat Protection within the Protection+ security module.

After these block and alert decisions have been decided for each Threat Profile in your policy change, you can now proceed to Step 3.
Apply Your New Policy
Propagating configuration changes throughout the AT&T Dynamic Defense portal is a simple process.
Step 3a:
Making policy changes (e.g. adding, editing, or deleting policy rules) will be represented in a draft state shown on the right-hand side of the screen when the first policy edit is made. A draft will not be made active until you complete the remaining steps.

Step 3b:
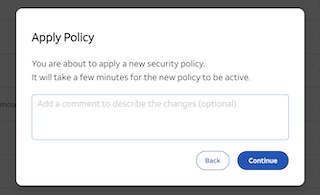
When ready to apply your new policy, move your mouse over the "Draft" button and click "Apply Policy" to activate the draft state. Activating the changes effectively pushes the configuration changes to the network embedded security to be applied across your AT&T Dedicated Internet connection.

A prompt will appear asking if you are sure you want to continue. Here you can add any notes about the new policy and then select "Continue" to activate the policy.
Step 3c:
After applying the policy, the Draft state will then convert into a Pending state as the policy is pushed over the network to be updated within the AT&T Dynamic Defense Service.

Step 3d:
Once the policy is successfully updated within the AT&T Dynamic Defense Service the status will then be updated to an active state and a new notification will be populated to show success.
